


2. Pre Ride Checks
LEARN MORE +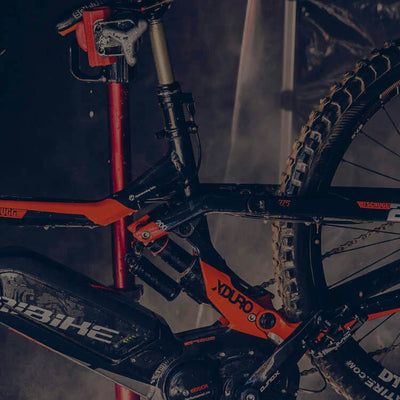
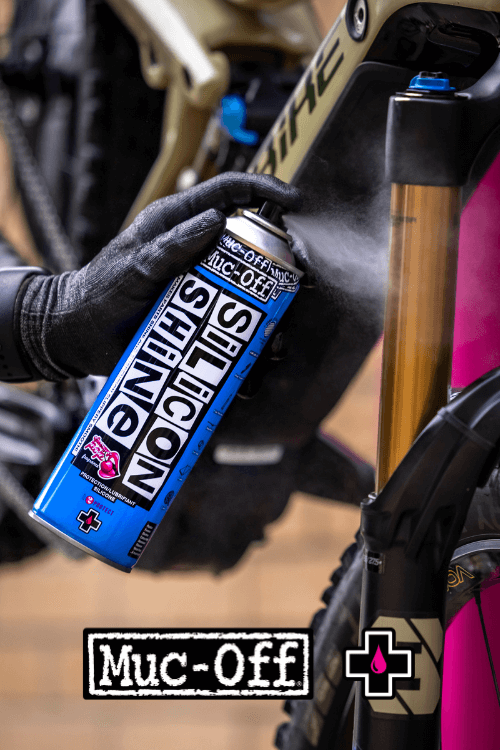
3. Cleaning Your eBike
LEARN MORE +
4. Extending Battery Life
LEARN MORE +
1. Getting Started
LEARN MORE +Types of spares
Brand Spares
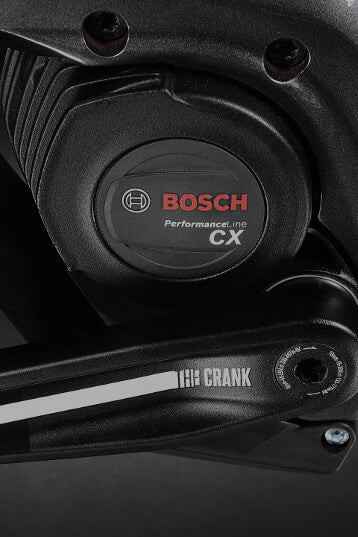
Bosch e-bike spares
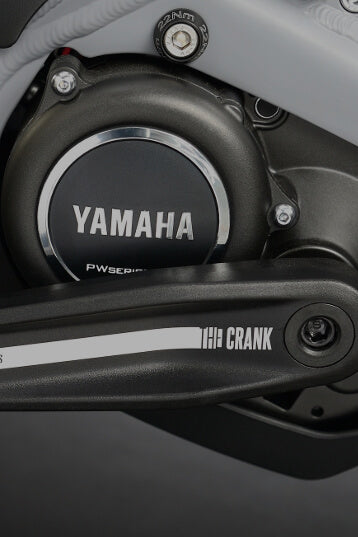
Yamaha e-bike spares
Shimano e-bike spares

We know you are excited, but it's important to get the bike set up ahead of that first ride. We deliver all of our bikes built, but you'll need to adjust the handlebars, saddle & put some pedals on.
Here we talk you through the first steps of eBike ownership. By following these steps closely you'll ensure you are getting the most out of your new electric bike and learn some tips along the way!
The first few steps apply to all of our bikes. This is followed by suspension setup guides, these are only applicable to our electric mountain bikes.

Setup Handlebars
Important: Before aligning the handlebars to your preferred angle, make sure the stem is in line with the front wheel and tightened using the 2 x Allen key bolts on the side of the stem.
Now proceed to adjust the angle of the handlebars and lever position. This is personal preference to each individual rider.
Set Saddle Position
Saddle position is important to get the full length of your leg at the most efficient position. Too high - it'll stretch, too low & your legs will be cramped up.
Set your saddle height so that when your leg is at the bottom of the pedal stroke, there is a very slight bend in your knee.
Fitting Pedals
You'll be fitting your desired pedals to your new eBike. They are always labelled left & right (a small stamp on the end of the pedal thread itself). The 'Right' pedal is always the side with the chain on the bike.
For standard flat pedals follow the first half of the video. Proceed to watch the rest if fitting & setting up clip in pedals.
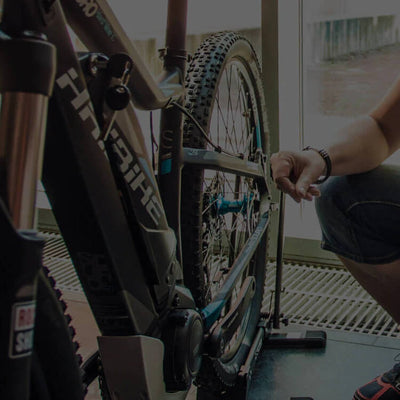
Setting up suspension
The below applies to our electric mountain bikes. For hard tail bikes without rear suspension, you just need to follow the first step.
For full suspension bikes you need to follow both videos for both front forks and rear shock. Please use a shock pump.

Front Forks
The air chamber cap is only set on one leg of the forks, not both sides. It's normally located on the left side. Sit on the bike with your weight completely off the ground.
Now measure the amount the fork sags & adjust accordingly. Put more pressure in to harden & let some out to soften.
Rear Shock
Sit on the bike and make sure all weight is off the ground. Now measure the amount the shock sags, there is normally a handy 'O ring' to help measure.
Now adjust accordingly, put more pressure in to harden & let some out to soften. Aim for approx 20% sag.
It's important to take the shock pump out with you on your first ride. This means that you can adjust the shock and forks further depending on your preference and riding style. It will make a great different to the performance and handling of the bike when set up properly.
Up Next Step 2: Pre Ride Checks
2. Pre Ride Checks
LEARN MORE +
3. Cleaning Your eBike
LEARN MORE +
4. Extending Battery Life
LEARN MORE +
1. Getting Started
LEARN MORE +